Monday, February 17, 2014

Adventures in Two Color Printing


      A little while ago I decided that, since the printer is getting pretty good at the basics I should begin to test out what the little machine could do. Thus, began my adventures in two color printing. Anyone who is involved 3D printing is probably quite familiar with the topic of multiple extrudes. The theory is, the more extruders, the more materials you can print in one print. Unfortunately I only have 1 lonely extruder, so its only one material for me for the moment. But we cant have that, now can we.


I can change the filament midway through the print. Ok, I might be a little over exaggerating this a little after all its not so Earth shattering. But personally I was VERY impressed with the outcome.

 What you're seeing here is the logo for my robotics team. (Vae Victus which means "Woe to the Conquered", our number, and our school: just in case you were wondering) Trying to keep on the cutting edge of things, our team is printing these out as give-aways.. The only problem is... It has two colors.

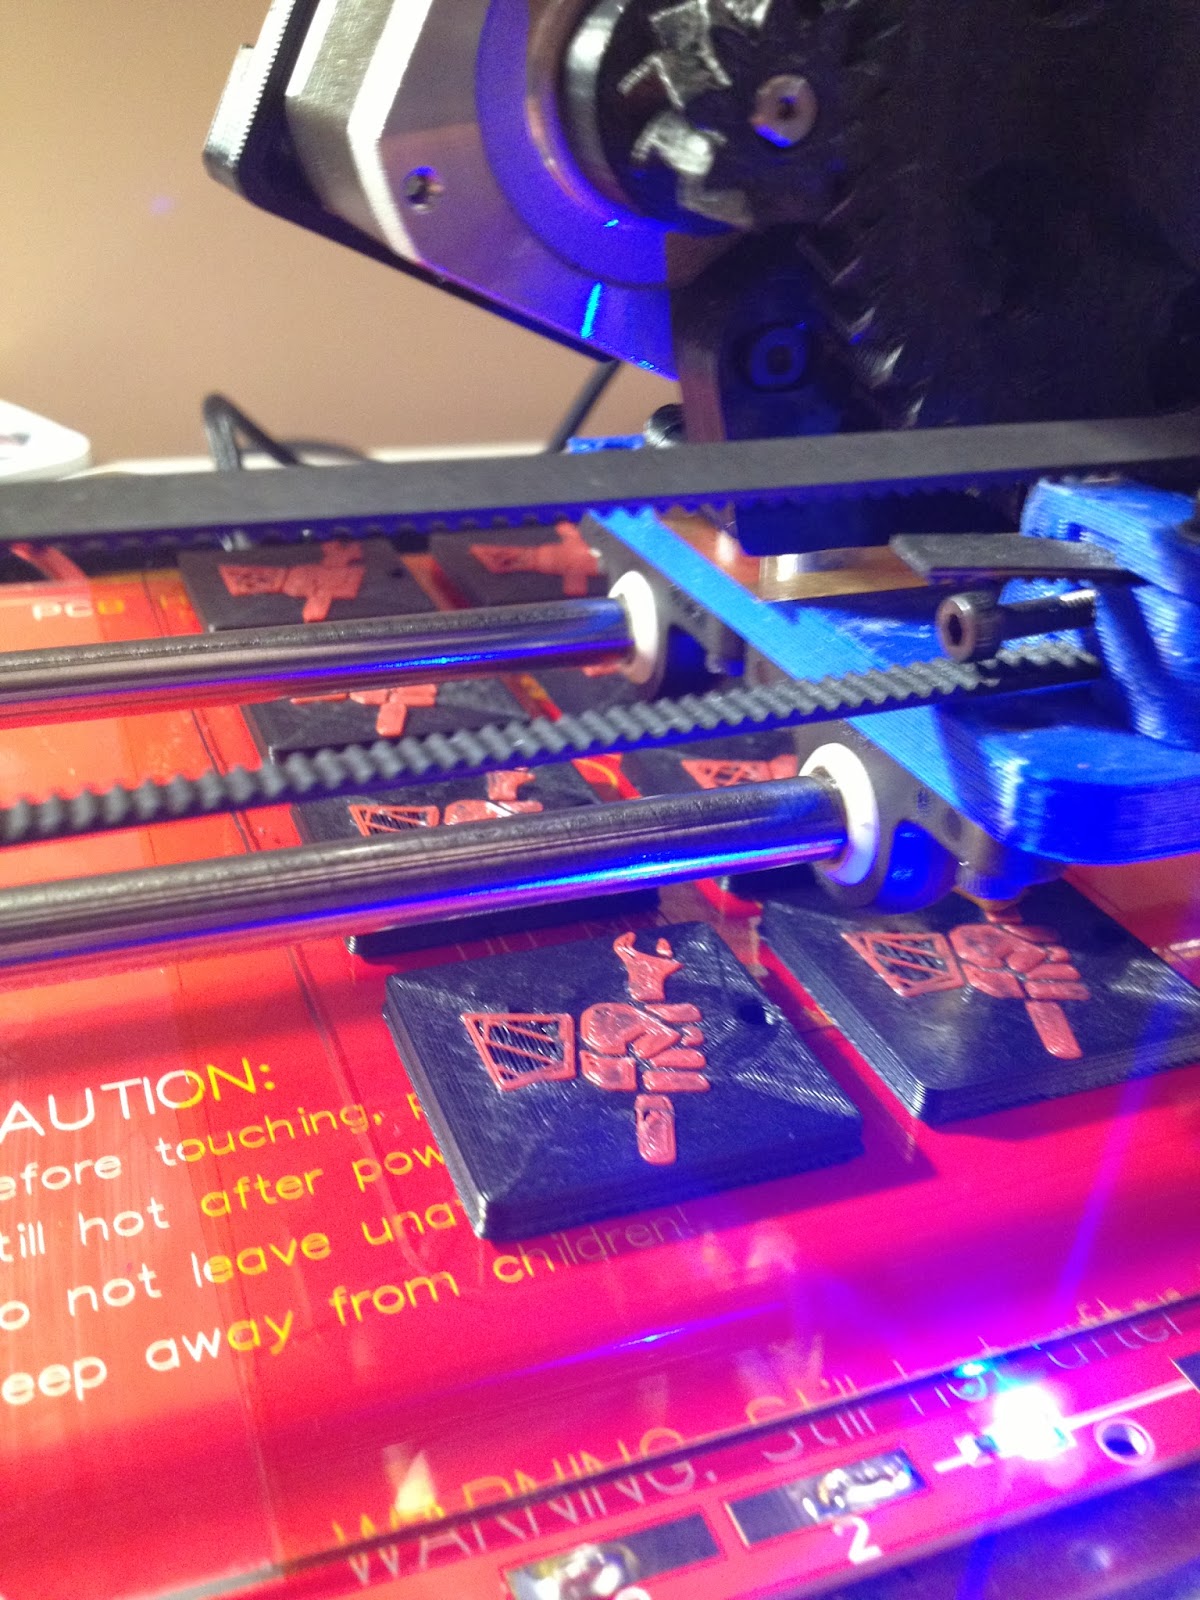
Not a problem.. Here you can see how the printer is putting on the first red layers onto the black bases. Eventually its going to build up into something like this.


      Now, what would be the point in telling you all of this without telling you how. First off, im using Pronterface as my printer control. The great thing about it is you can pause the print move the printer around, hit resume and it goes right back to where it started. This means I can start off the print in black, pause the print when it gets to the fist part of the logo, change to red, and resume the print. The characteristics of ABS Plastic makes it so that the two different plastics stick together like they are one. Perfect.

The one difficult part of this is sometimes, especially when moving from a darker color to lighter, you have to run the last color out for a while. This can be a waste of filament. For example in this print it took a while to get all the black out of the red. The results are worth it. I hope this inspires you to try it your self!

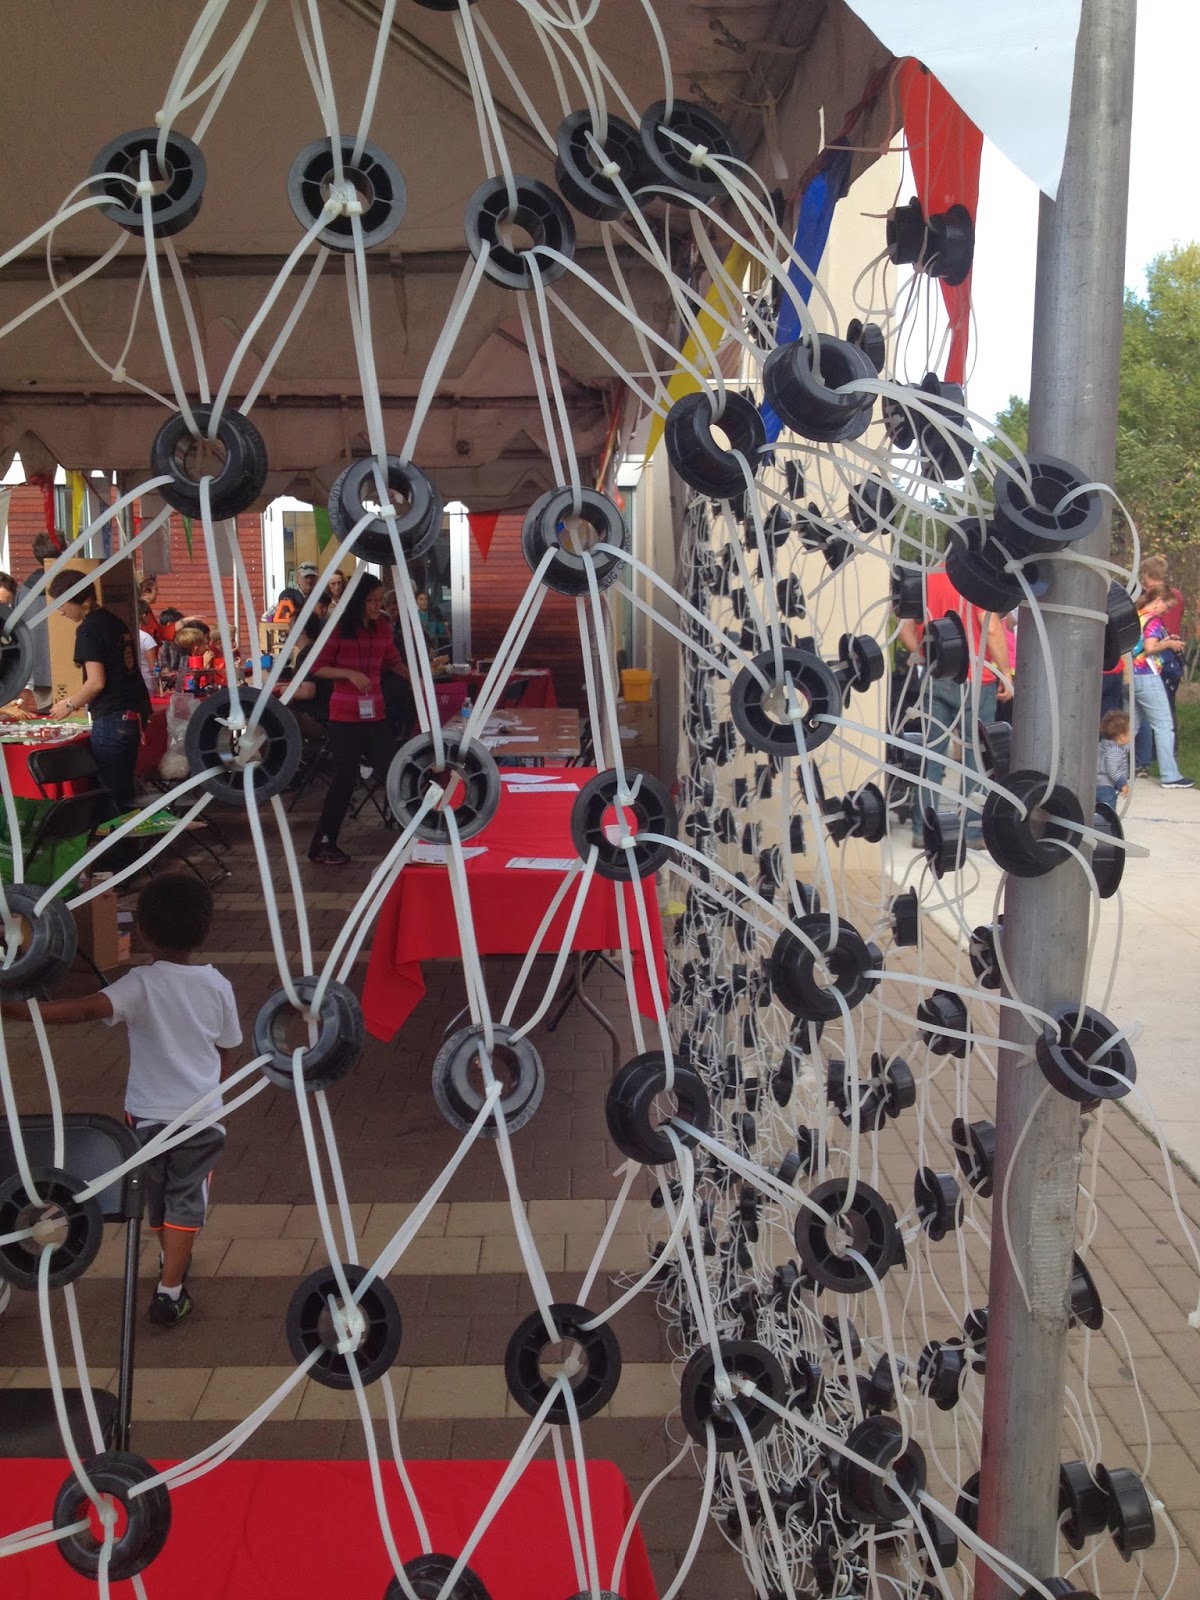
      On another note, my robotics team  will be at the NOVA MakerFaire, so come check us out. We will be giving out these key chains so stop on by if you want one! ;)
       I'm planning on stationing my self at the Vienna Wireless Society's table. The VWS is the local Ham Radio club which I'm very active in. Ill have the Printer there showing off a 3D printed Antenna I made. Hopefully Ill have a post about that project soon. Hope to see you there!

Keep It Awesome
-Jacob

Tuesday, December 17, 2013

Mini Makerfaire Silver Spring 2013


     SO this is ridiculously late so bear with me here.. All the way back in September I went to the Mini Maker Faire in Silver Spring, MD and I was lucky to be a part of a display put on my schools FIRST Robotics institution. To say the least, it was awesome. I took plenty of photos, which is great so instead boring you to death with endless words, you can look at photos instead.
     The Maker Faire was hosted by the K.I.D. Museum, they did a great job and they made a pretty good job at making a video, which you can find here: http://kid-museum.org/video-recap-2013-silver-spring-mini-maker-faire/ Though I must say, there was much more awesome stuff that the video didn't show. Not that I like to brag or anything, but my 3D printer and Rubik's cube robot were featured several times! Heres the link to the Silver Spring's "Official" page: http://makerfairesilverspring.com/
Look out for this.....

   
       On another note, If you missed this maker faire, and your in the Northern Virginia (NoVA), DC, or Maryland area, and this looks like something you don't want to miss then I would definitely suggest marking your calendars for the NoVa Mini Maker Fair.
Information HERE: http://makerfairenova.com/
It should be a ton of fun and i'll most likely have a table scoped out somewhere. Hope to see you there!


Anyway back to the maker fair...


 I'm just going to take a moment in self revelry for a moment and show some of the activities going around my area during the day..


 The 3D printer, or cource was on display for the entire day hard at work printing some sweet eccentric gears, which eventually finished. (on display above)


 The biggest got though was the LEGO mindstorms Rubik's cube solver I made. Its a design called the Tilted Twister, instructions here: http://tiltedtwister.com/, its always a big hit.


National  rocketry clubs... Check it out! http://www.nar.org/


NASA had a table.


The event location was pretty amazing too. The concourse is new, super modern and clean, definitely worth a visit if you're in the area. Of course you can see here it was jammed packed with people.


Amazingly good large prints of an Ultimaker


I really liked this netting here, made of zips ties and some plastic rings. They look really neat hung over the walls.

WOODEN QUADCOPTER!!


Local pumpkin chunker.


Who doesn't need a 3D printed banana cutter? I mean really..


3D Printed robots and quadcopter... so cool!


This was really cool. Not only because it looks likes something out of an Asimov story, but because it is actually a 3D scanner. This was actually put on by the Smithsonian Institute, and he was giving live demos of scanning a real human skull.


The Smithsonian was also sporting on of the new CubeX Duo 3D printer. Famous for not only its massive build area, but also its high resolution, and 2 color printing. Check it out here: http://cubify.com/cubex/store.aspx


HEY, thanks for making it all the way to the bottom here! Glad you survived, I hope you enjoyed it, this was my first blog post here so I hope to be increasing the quality and frequency of my posts in the near future.. Keep it awesome!
-Jacob